TPED
Your partner for LPG solutions
Non-Destructive Testing And Inspections
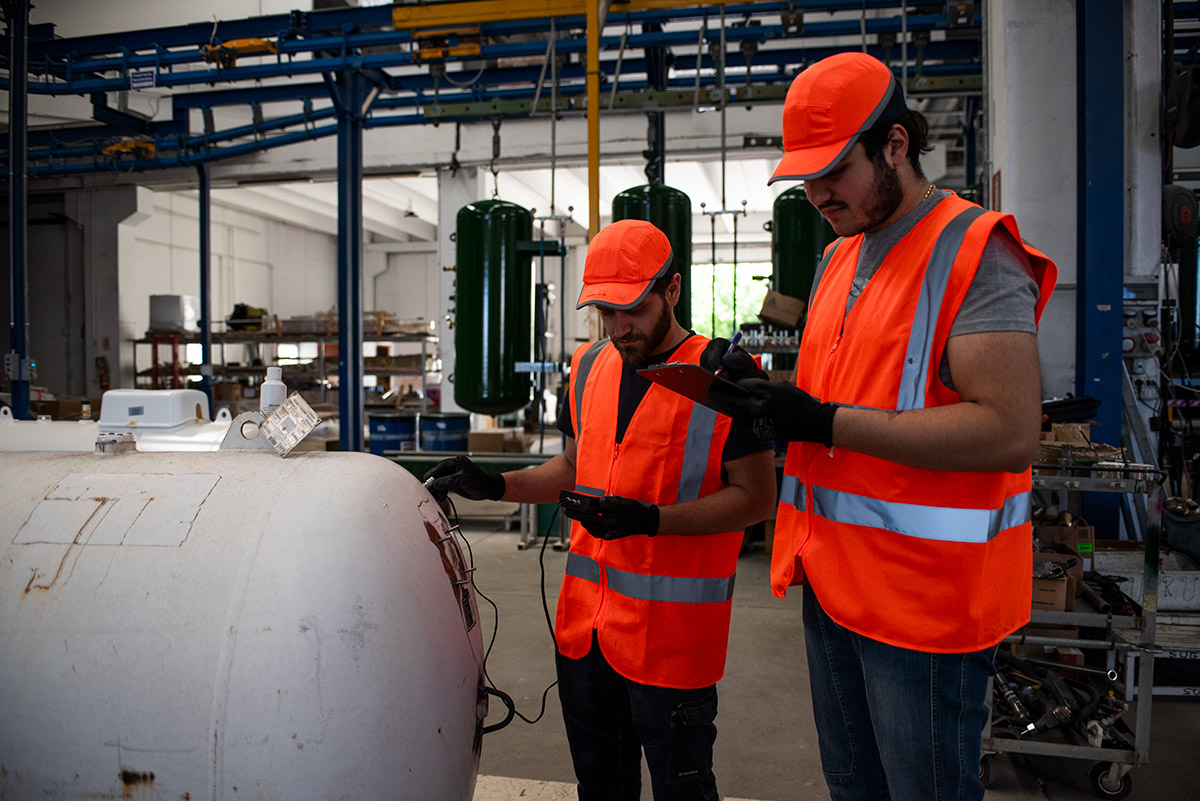
Every tank built and marketed by CPS srl undergoes a series of non-destructive tests and inspections before being placed on the market. The inspections, which are conducted within the factory, are carried out by highly specialised personnel.
The operators involved in the non-destructive testing of welds, are all qualified and in possession of a licence for the specific testing operation. CPS, equipped with an ISO 9001 quality management control system, maintains total control of documents, guaranteeing the up-to-date specifications and certification of operators.
The extent of non-destructive testing on welded joints is strictly linked to the “testing group” to which it belongs, in accordance with the provisions of UNI EN 13445-5.
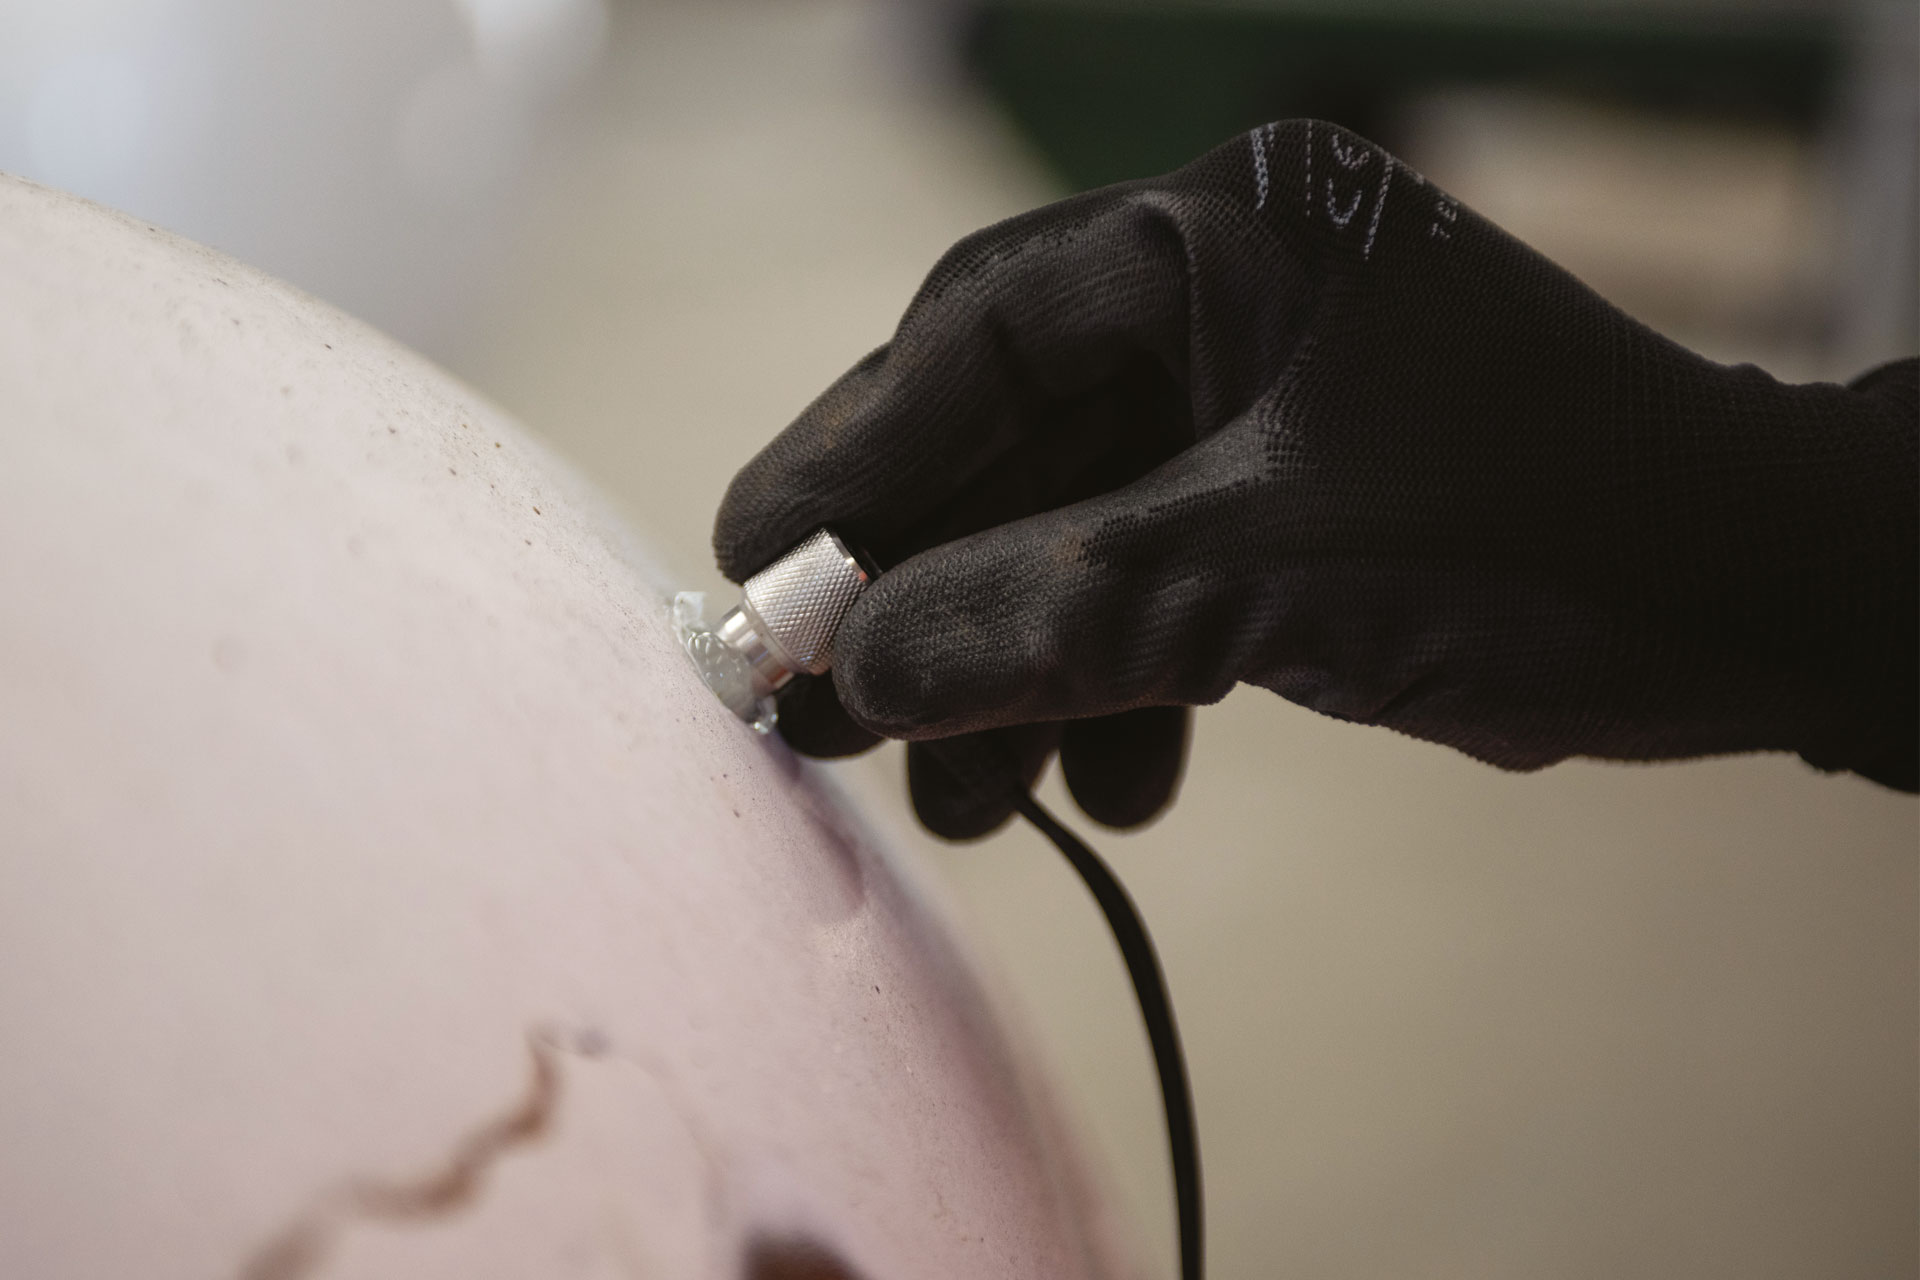
Ultrasonic Thickness Testing (UTt)
Ultrasonic testing is a volumetric testing method that exploits the principle of sound propagation in materials through the elastic vibration of the atoms and molecules that compose it.
This is achieved through high frequencies transmitted at a speed dependent on the mechanical characteristics of the material being passed through. Longitudinal ultrasonic waves have a material penetration capacity that is in inversely proportional to their frequency.
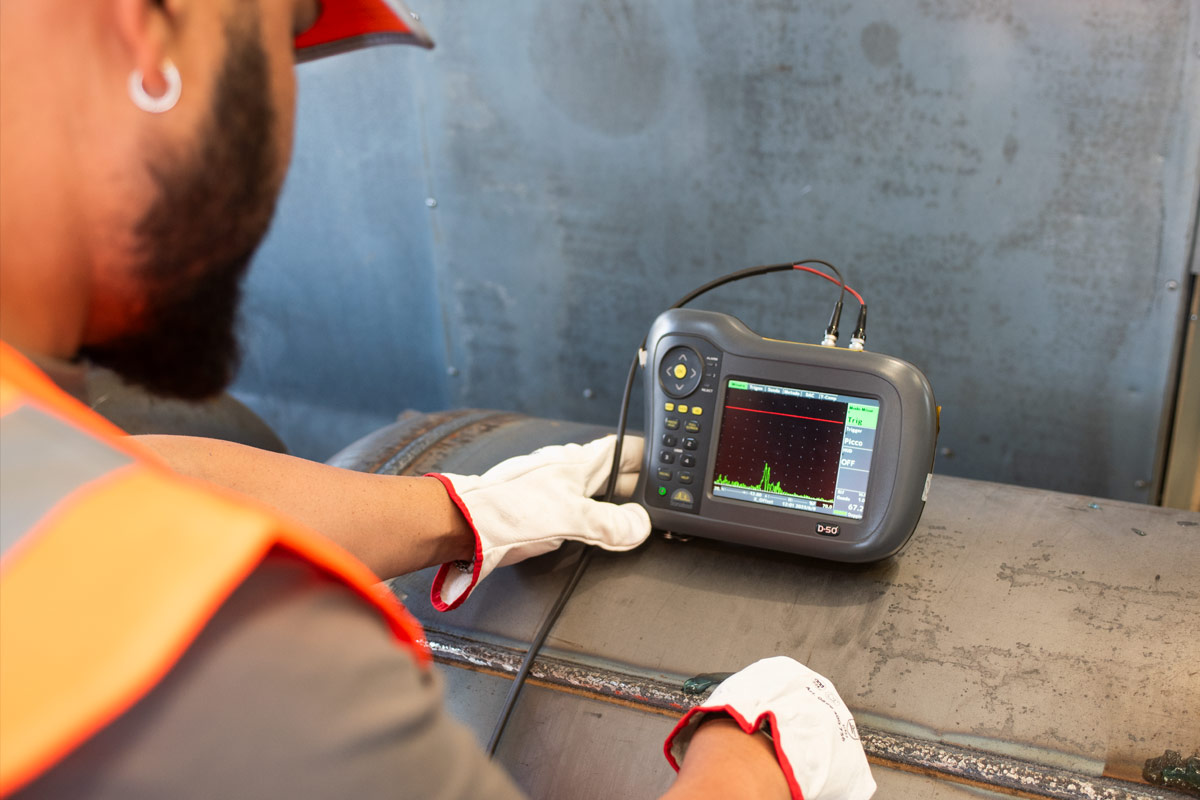
Ultrasonic weld seam inspection (UTw)
The ultrasonic method is used to check the integrity of the entire weld seam including the part adjacent to it (thermally altered zone) and the base material. The inspection is performed using the pulse reflection method, whereby an ultrasonic beam is introduced from one side of the weld and reflections are detected from the same side.
The purpose is to detect surface or internal defects and measure the distance and size of these defects. Transversal ultrasonic waves have a material penetration capacity that is inversely proportional to their frequency.
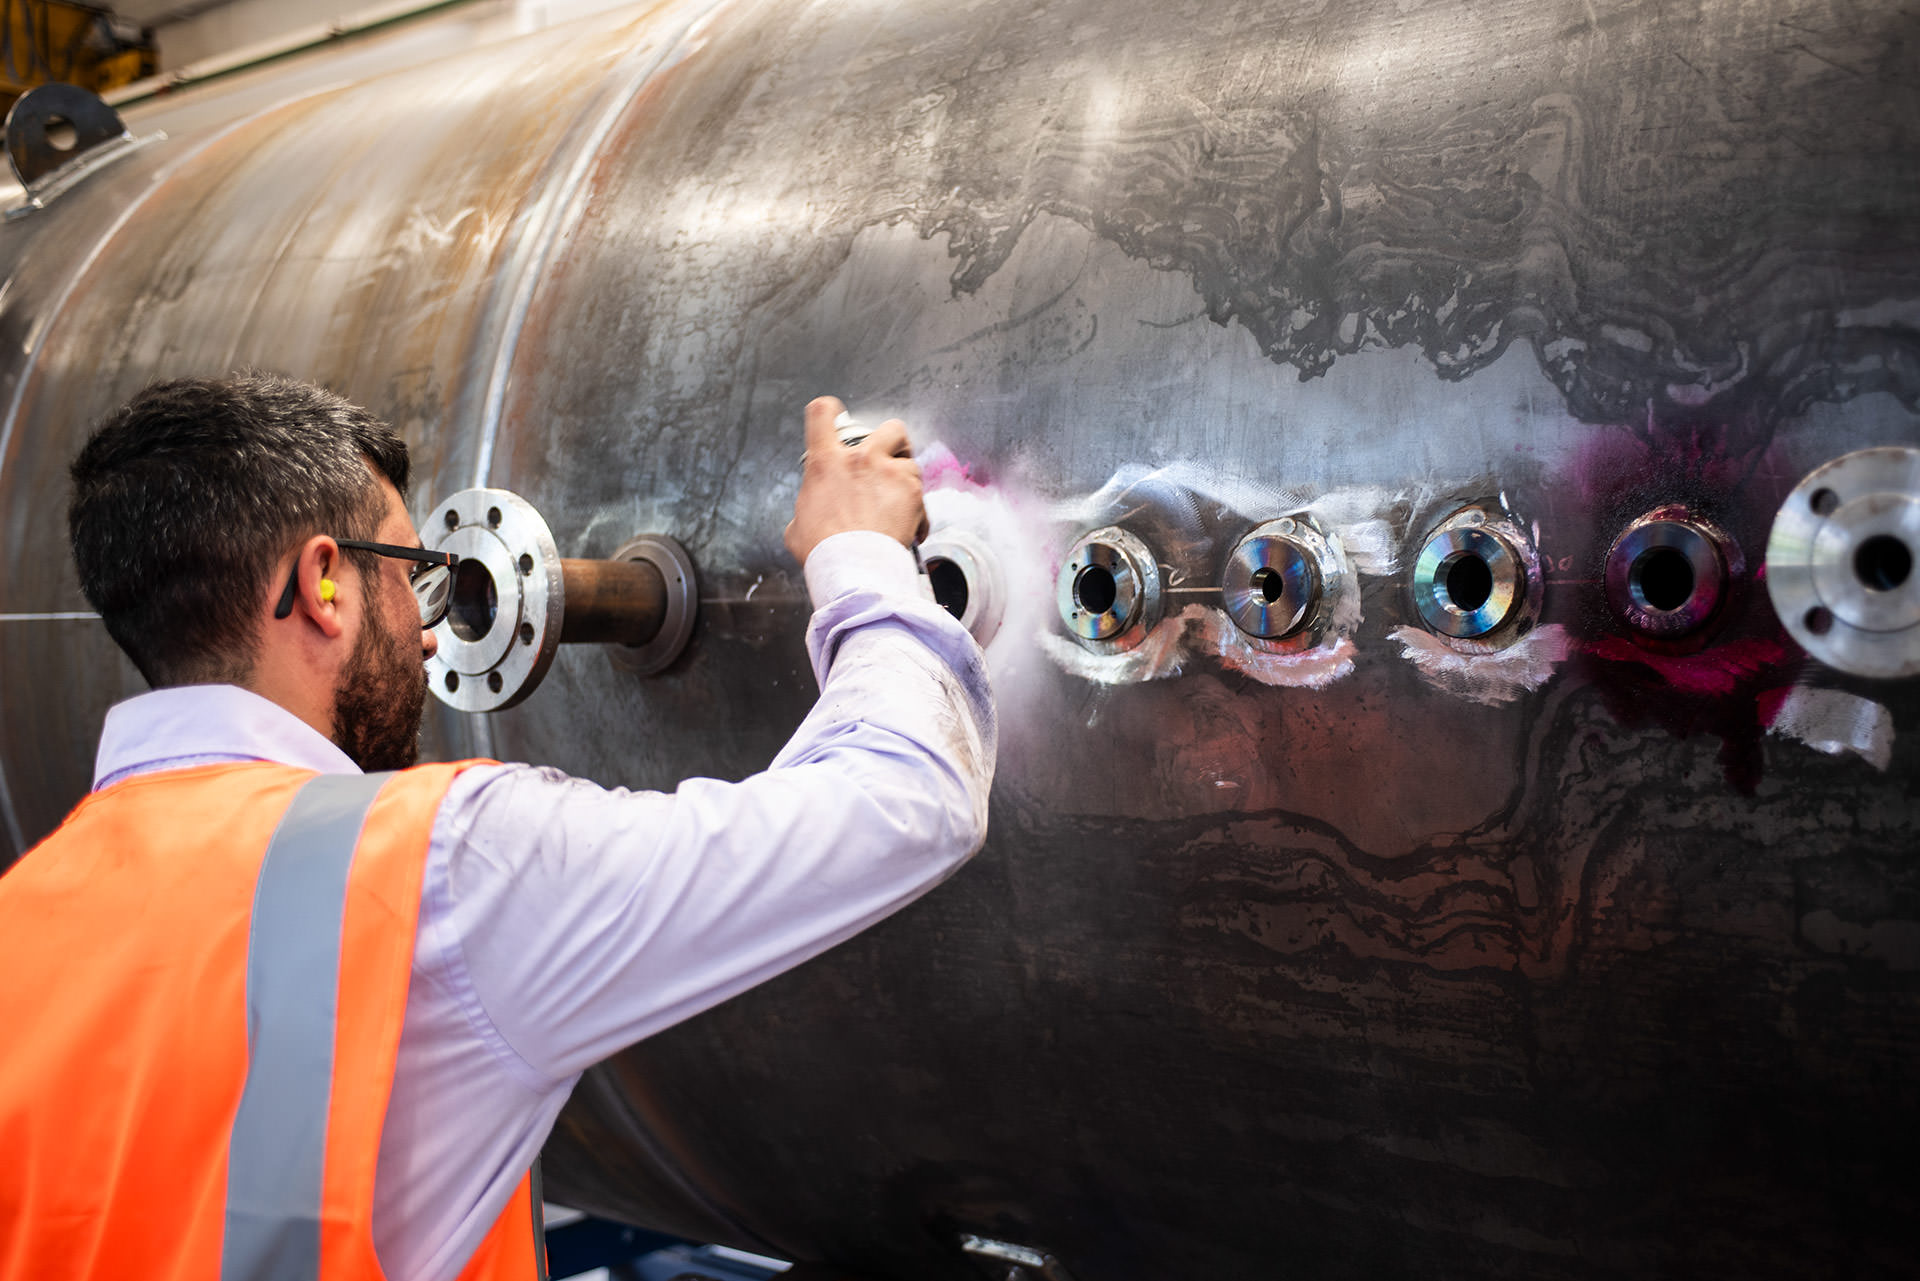
Inspection of Weld Joints using Penetrating Liquids (PT)
The inspection with penetrating liquids is a particularly suitable and highly accurate control method to highlight and localise discontinuities on the surfaces under examination, such as cracks, porosity, and creases.
The liquid penetrant testing method is based on the principle of capillarity, thanks to the low surface tension and good wettability characteristics of these liquids. In the presence of surface defects, the liquid penetrates into the defect and is subsequently brought to the surface by special detectors.
Visual inspection (VT)
Visual inspection, whether direct or remote, is officially recognised as non-destructive testing method. It is used for the purpose of determining the conformity of a product and its specific requirements, on the basis of well-defined acceptability parameters.


